How To Install A Polaris Ranger Snorkel Kit
Nov 30th 2022

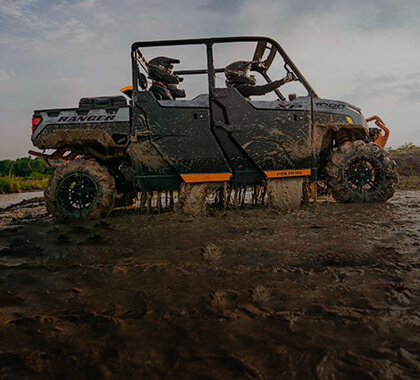
The easiest way to install a Polaris Ranger snorkel kit is to simply buy the Backcountry package that comes stock with snorkels pre-installed from the factory. But for those looking to turn terrestrial vehicles into submarines, aftermarket Polaris Ranger snorkels are compulsory. Although you’ll never be able to go as fast or as far in water with a snorkeled Ranger than you could with in a boat, it's still possible to turn 4x4s into swamp buggies with the right modifications. Now we’re not saying you should slap a 50hp Mercury outboard onto your tailgate, but we are saying that if you venture into the deep end without taking proper precautions, you’re definitely going to regret it!
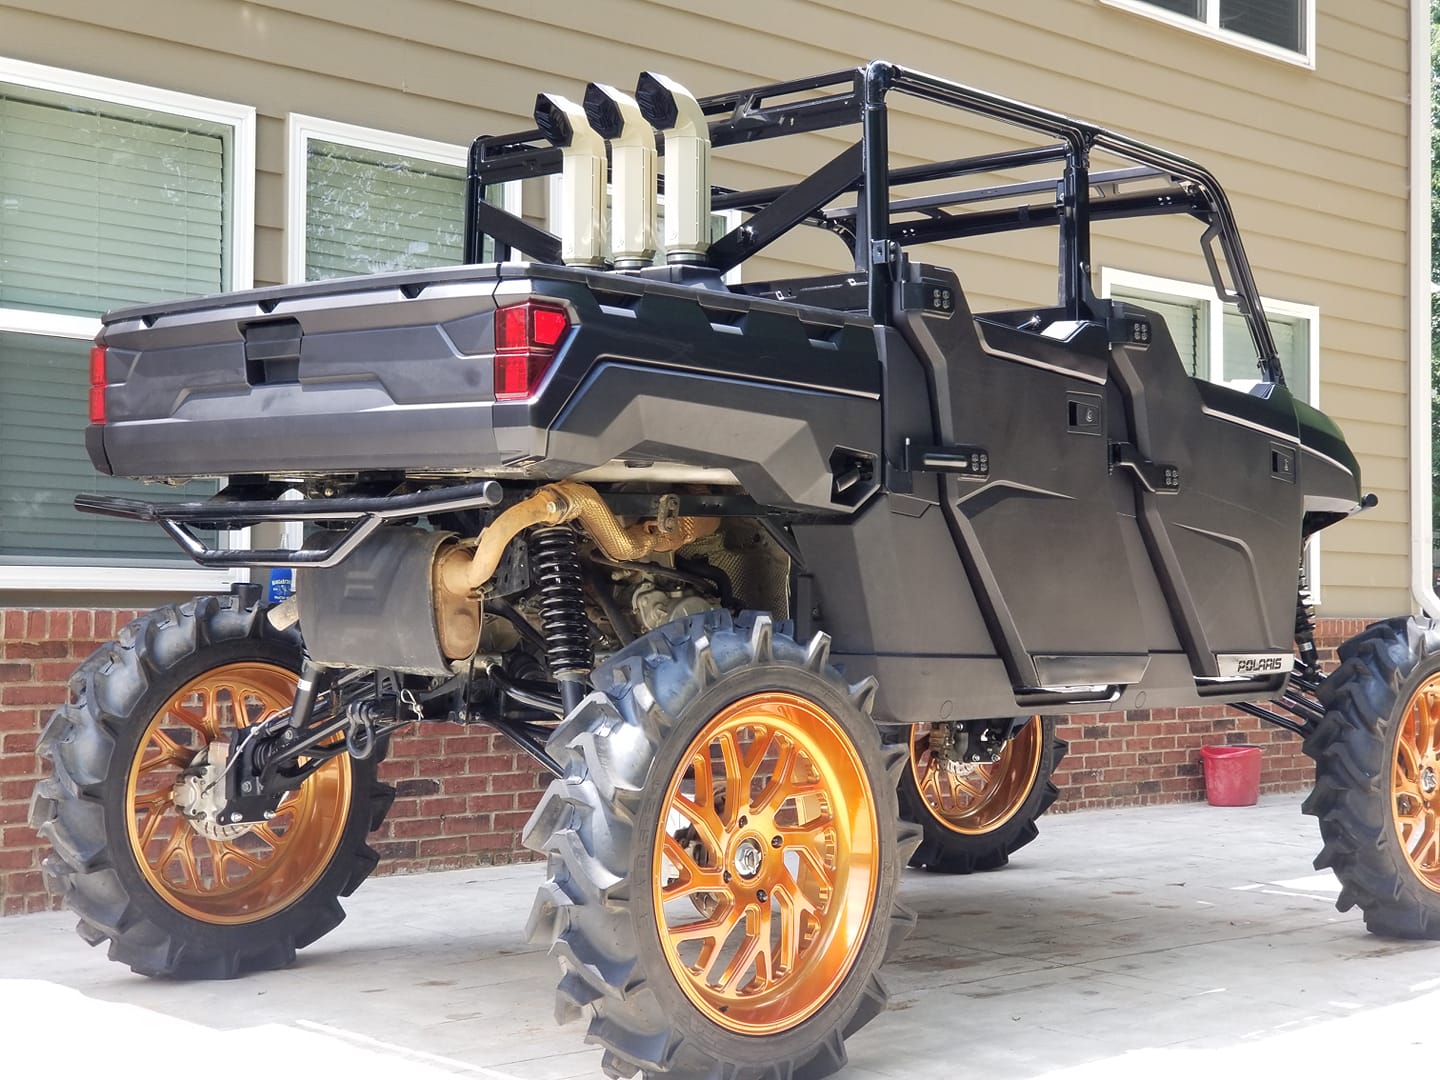
As far as Polaris Ranger snorkel kits go, there are a few different brands you can choose from, as well as a few different ways in which the snorkel components can be installed – up and out through the bed, into the cabin itself through the rear seat, or extended even higher through the roof itself. It’s also important to know whether you’ve got the new body style Ranger, or the old body style Ranger when attempting to install a snorkel kit. But whichever route you decide to take, the basic concepts are the same. The main things you must concern yourself with when installing Polaris Ranger snorkel kits are the snorkel brackets, the snorkel tubes, and the snorkel vent lines. And when everything is completed, make sure to smoke test your snorkels to check for leaks, and seal your air box to prevent water infiltration there. But without further ado, here is how to install a Polaris Ranger snorkel kit!
Polaris Ranger Snorkel Install
Before you commence the installation process of your snorkel kit, you’ll first need to remove the rear bench seat so that it’s not in the way. You’ll see that some factory plumbing is already in place, so you’ll want to remove all that to make room for the new stuff. And to clear up space for the snorkels to extend upwards at the back of the cabin, you’ll need to trim the tabs off of the middle of the back seat. You might have the one-piece bench back, or there could be a removable middle section in your seat back. Either way, you’ve gotta do a bit of cutting to make space for the snorkel tubes.
After cutting the seat tabs, you’ll then want to take the 3”x2” rubber boot that came in your kit, and clamp that around the outlet of the belt box. Applying some silicone to the inside of the boot before tightening the clamps will help to ensure that it’s water tight. The next step is to install the 2” coupler that comes with your snorkel kit onto the air filter box. To make this coupler more pliable and easier to insert, you can put it in boiling water for a few minutes to heat it up. Like with the rubber boot on the belt box outlet, you’ll also want to apply silicone to this air box coupler, and you should do the same with the bottom air box hole to cap it off and make it airtight.
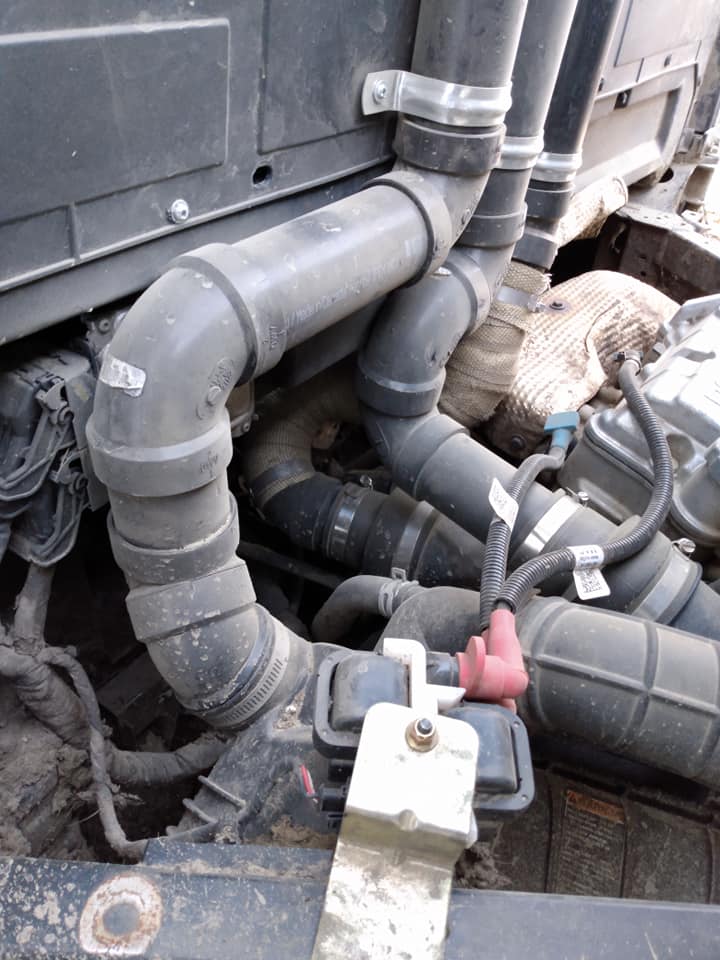
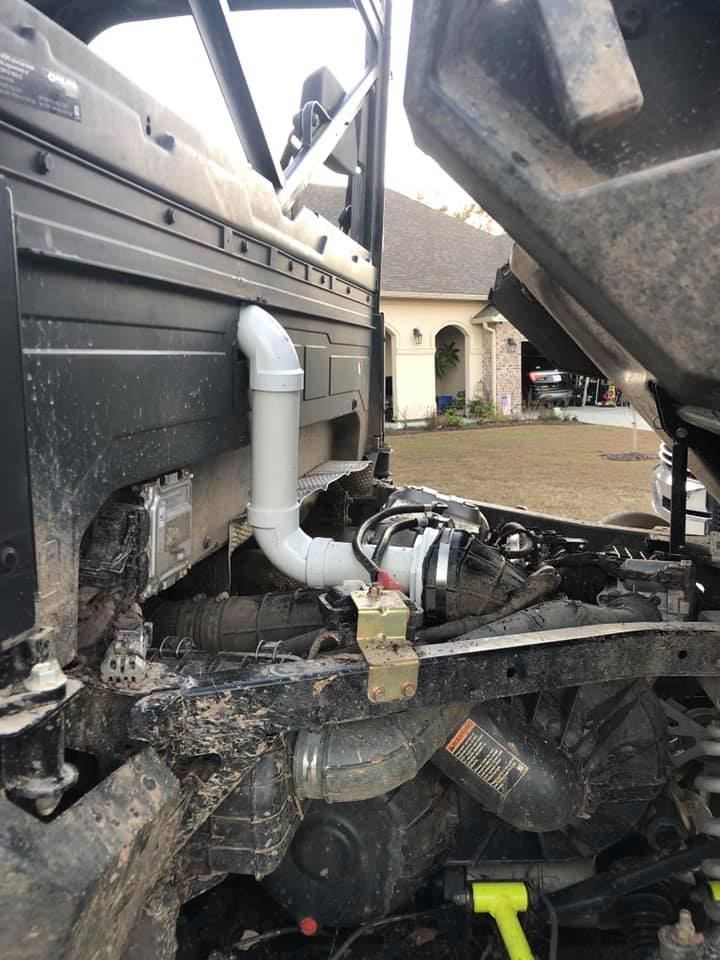
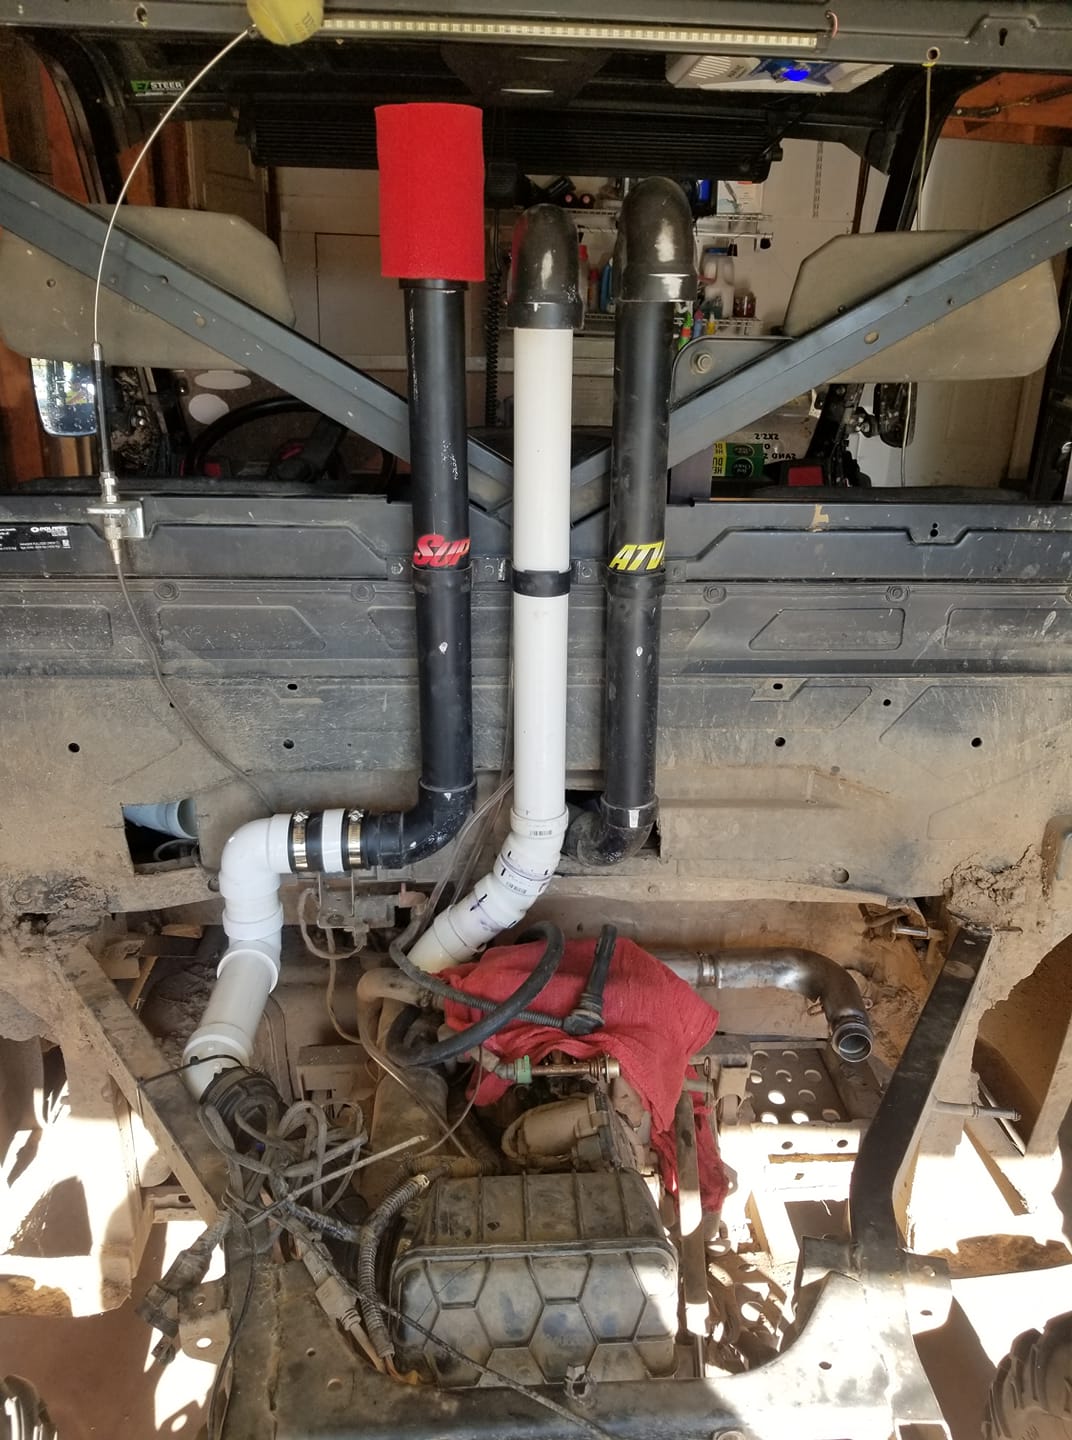
The next step is to drill two 2.5” holes behind the seat back (or the bed, depending on where you want to run your snorkels) with a hole saw bit for the vent lines to go through. Once that’s done, you then want to connect the included snorkel and elbow pipe to the factory CVT intake boot. The remaining pieces of tubing go through the holes you just drilled, and every piece should be "glued" with either silicone or ABS pipe cement. Before sealing the tubes, it’s a good idea to dry-fit all the pieces so that you know it’ll all connect properly. If you think that you might want to take your snorkel kit apart one day in the future, siliconing the pieces together on the outside will make it much easier to separate them if need be.
Once all three snorkel tubes have been run, you can then tackle the vent lines (the front and rear differential vent lines, transmission vent line, and the gas tank vent line). These can also be run up and into the risers of the snorkel kit, and connected to the included line extensions via barb fittings.
One caveat with SYA Warrior Risers is that you can’t use them with a rear glass windshield. What you can do, however, is get a poly rear windscreen and cut it where the risers are located. You can then put some pipe insulation around the edges to clean things up a bit, or create a manifold to go around them so that the cabin is airtight. Alternatively, you could also run your own snorkel risers on the inside of the cockpit, or even up and through the roof to draw air in from up there.
Sealing The Air Box
No matter how diligent you were when installing your Polaris Ranger snorkel kit, it’ll do little good if your air box isn’t fully sealed. An OMC gasket can be installed to prevent leakage, or you can apply marine grease to the rim. Alternatively, as we mentioned earlier, you can apply ample amounts of silicone to both your air box and belt box to ensure a tight seal. This can then be easily scraped off and reapplied when you need to change your air filter or swap out belts. If all else fails -- and for particularly dusty environments -- you can always do an aftermarket air box or even a complete Polaris Ranger air box delete to remove the air box entirely!
Using Pre-Filters
Whether you go with the SuperATV Depth Finder snorkel kit, the Triangle ATV snorkel kit, or the High Lifter / SYA Warrior Riser snorkel kit, it’s always a good idea to use pre-filters or snorkel tips to keep out dust and moisture. Snorkel tops and snorkel screens can also be used, with products like hydrophobic mesh filters by companies like Frogzskin being popular as well. No matter how many creek crossings, ponds, or mud pits you encounter, it's better to be safe than sorry. And one of the best things you can do to protect your vehicle from water damage is to install a Polaris Ranger snorkel kit!